I wanted to make note on how to do this because I purchased specializes VFX for the canvas which wasn’t needed at all after learning this little trick.
To have any Particle or sprite-based VFX show on your GUI Canvas in Unity you can simply create a special camera to do it. I though that having an extra camera was complicated, a waste of time, and would lead to more work to get things to look right in the long run…nope!
Here are the steps to getting this working..
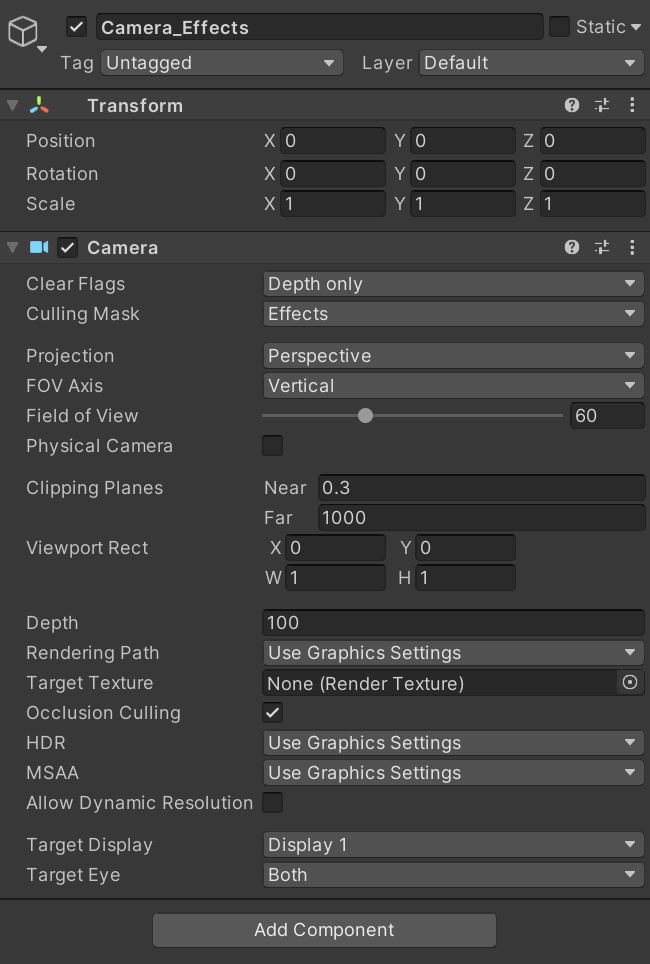
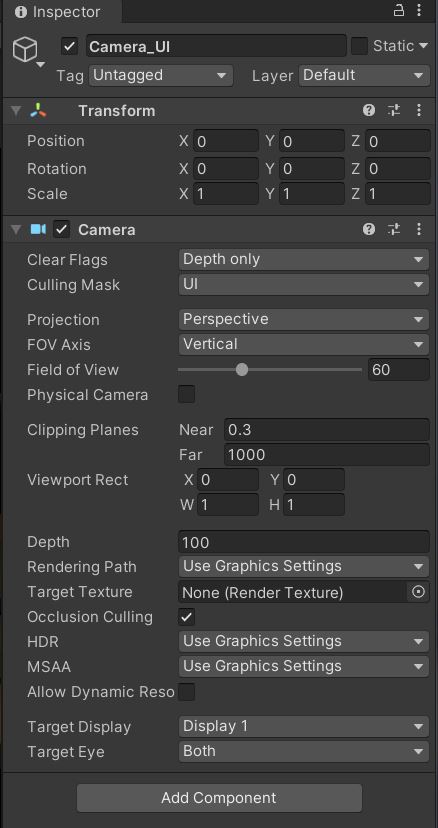
- Create a new [Camera] and name it so you know what it’s doing, “Camera_UI_”.
- Change the cameras “Clear Flags” to “Depth Only”.
- Remove all layers except the “UI” layer from the “Culling Mask” are on the new camera you just made.
- Set the Cameras “Depth” to “100”.
- Remove all ‘Non-Camera’ components from the new camera. For example “flares’ and ‘audio listeners’.
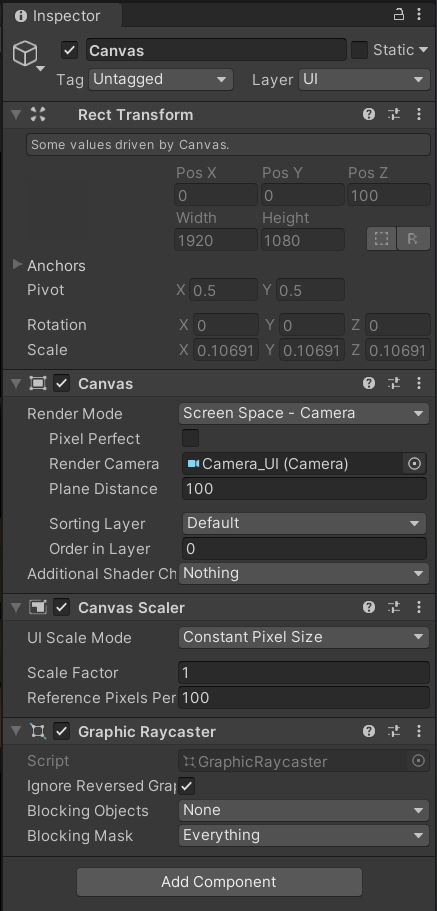
- On the main Canvas, change the “Render Mode” to “Screen Space – Camera”.
- Assign the new “Camera_UI” camera to the “Render Camera” area of the Canvas.
- Remove the “UI” layer from the “Culling Mask” of the Main Camera.
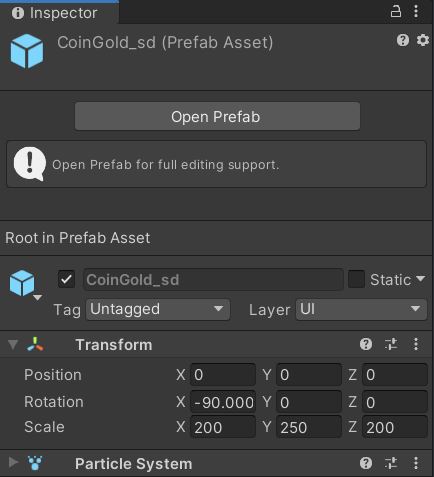
- Finally, on any VFX you need to change the “Layer” to “UI”, so you may want to create a special prefab, so that it doesn’t mess with any of the VFX being used in 3D Space normally.
UPDATE: If you are finding that the effects are being clicked by the UI you can make a third camera for just the effects and Set it’s depth to 100 and then depth of the UI camera to 99. Now all of the VFX need to be put on the Effects Layer (Yes you need to create yet another layer, but the result is amazing and worth the effort.)